

Tile walls are increasingly popular in modern Adelaide homes, from kitchen feature walls to bathroom accents and contemporary living spaces. Many homeowners wonder, “can you mount tv on tile wall in Adelaide?” when considering a TV installation on these attractive but challenging surfaces. Unlike standard drywall or brick, tiled walls present unique installation difficulties: drilling through hard ceramic or porcelain surfaces risks cracking, the bond between tile and substrate varies, and improper technique can damage both the tiles and the TV mounting system. This comprehensive guide explains the methods, challenges, and professional solutions for mounting TVs safely and securely on tiled surfaces.
Golden Antenna specializes in TV mounting across Adelaide’s diverse wall types, including challenging tiled surfaces. Our expert team understands how to drill through tile safely, locate structural support, and deliver aesthetically pleasing installations that respect your tile design.
Key Takeaways
- Mounting TVs on tile walls is possible but requires specialized drilling techniques to avoid cracking or damaging tiles.
- Can you mount tv on tile wall in Adelaide safely? Yes—but only when mounting brackets anchor into solid substrate (studs or masonry) behind the tiles, not relying on tiles alone.
- Tile thickness (typically 5–10mm), grout joints, and substrate material all affect mounting strategy and difficulty.
- Specialized drill bits (diamond-tipped or carbide), slow drilling speeds, and water cooling prevent tile damage during installation.
- Professional installation in Adelaide eliminates risks of damaged tiles, failed anchors, and cosmetic problems while ensuring structural safety.
Overview
Tiled walls are beautiful but structurally complex for TV mounting. Tiles are brittle and prone to cracking under stress or drilling vibration. Grout joints are weak points prone to crumbling if pressure is applied. Behind the tiles lies the actual substrate—plasterboard, brick, concrete, or timber framing—which is what truly supports the mount’s weight. When asking “can you mount tv on tile wall in Adelaide,” success depends on understanding and respecting both the tile surface and what lies beneath.
Professional mounting on tiled walls requires:
- Identifying the substrate behind tiles (studs, masonry, or plasterboard)
- Selecting mounting locations that avoid grout lines or structural weak points
- Using specialized drilling techniques and tools designed for tile penetration
- Ensuring brackets anchor securely into solid material, not just tiles
- Managing cable routing without damaging visible tile surfaces
This multi-step approach transforms a risky DIY project into a safe, professional installation that enhances rather than compromises your tiled wall aesthetic.
The Tile Surface: Composition and Drilling Challenges
Ceramic and porcelain tiles are among the hardest common building materials. Ceramic tiles (typically 5–8mm thick) are slightly softer and more brittle than porcelain, making them prone to chipping and cracking. Porcelain tiles (often 8–12mm) are denser and more durable but require even more specialized drilling techniques due to their hardness.
Key considerations for drilling tile walls include:
- Tile hardness resists standard drill bits, which can slip and damage the tile surface
- Drilling vibration and heat can cause the tile to crack or shatter if speeds or techniques are incorrect
- Grout lines are weak points that crumble easily under pressure or vibration
- Water cooling during drilling reduces heat and prevents damage
- Wrong drill speed causes tiles to overheat and fracture
Behind every tile lies a substrate that varies by installation method and age. Older Adelaide homes may have tiles glued directly to brick or plaster. Newer installations typically have tiles adhered to plasterboard or cement board over timber framing. Understanding what is behind the tiles determines whether the mounting point will be structurally sound.
Can You Mount TV on Tile Wall in Adelaide? The Short Answer
Yes, you can mount a TV on a tiled wall in Adelaide—but with significant caveats. The tile surface itself cannot safely support a TV’s weight long-term; the mount must penetrate the tiles and anchor into solid structural material behind them (studs, concrete, or masonry). Surface mounting or relying on tile adhesive alone will eventually fail, risking your TV and safety.
Professional installers approach tile mounting strategically:
- Use diamond-tipped or carbide drill bits designed for hard ceramic materials
- Drill at low speeds (under 500 RPM) to prevent heat buildup and cracking
- Use water cooling to dissipate heat and reduce vibration damage
- Mark precise mounting points avoiding grout lines and structural weak spots
- Verify substrate location before drilling through tiles
- Use heavy-duty anchors or studs to secure the bracket firmly
When executed properly, tiled wall installations are secure, lasting, and can look as polished as any other mounting approach.
Substrate Assessment: What’s Behind Your Tiles
Determining what lies beneath your tiles is the critical first step. Different substrates require different mounting strategies and fastener types.
Plasterboard or drywall backing is common in modern Adelaide homes. Tiles are glued to the plasterboard surface, which itself is fastened to timber studs. When mounting a TV on this type of wall, the goal is to drill through the tile and plasterboard, then anchor into the studs themselves using large lag screws or bolts. This approach distributes load to the structural framing, bypassing the tile and plasterboard entirely.
Solid masonry or concrete backing is typical in older Adelaide properties and commercial installations. These substrates are excellent for TV mounting: tiles are merely a cosmetic surface, and the masonry or concrete provides strong, reliable support. Masonry anchors (expansion bolts) inserted through tiles and into the solid material below hold extremely well and reliably support heavy TVs.
Cement board is sometimes used as a tile substrate, particularly in wet areas. This material is moderately strong but requires careful assessment. If studs or masonry lie behind the cement board, use stud-anchored mounting. If cement board is the only backing, larger-diameter expansion anchors are necessary, though this is not ideal for very heavy TVs.
Understanding your substrate requires either using stud finders (which work through tile if adjusted correctly) or carefully drilling a small test hole in a non-visible location to confirm what lies behind the tiles.
Specialized Tools and Techniques for Tile Drilling
Standard drill bits will slip on tile, overheat, and cause damage. Professional tile mounting requires:
Diamond-Tipped Drill Bits:
- Designed specifically for ceramic, porcelain, and tile drilling
- Maintain sharpness through hard materials
- Far more expensive than standard bits but essential for avoiding damage
- Available in various sizes for different mounting point requirements
Carbide Drill Bits:
- Slightly less expensive than diamond tips
- Work well for ceramic but may struggle with harder porcelain
- Suitable for most residential Adelaide tile installations
Water Cooling System:
- Reduces heat buildup during drilling, preventing tile cracking
- Can be as simple as a spray bottle or a specialized pump system
- Essential for drilling through thicker or harder porcelain tiles
- Keeps dust suppressed and improves bit performance
Low-Speed Drill Driver:
- Standard power drills often run too fast (1000+ RPM) for tile work
- Professional installers use impact drivers set to 300–500 RPM or dedicated low-speed drills
- Slower speeds generate less heat and vibration, reducing tile damage risk
Stud Finders and Detection Tools:
- Electrical stud finders work through tiles with proper calibration
- Help locate studs or structural points for secure anchoring
- Essential for planning mounting locations that anchor into solid material
Attempting tile drilling with standard tools and techniques is a recipe for damaged tiles, failed mounts, and costly repairs.
Step-by-Step: How Professionals Mount TVs on Tile Walls
Professional installers follow a methodical process that minimizes risk and ensures safety:
- Assessment and Planning: Inspect the tiled wall, identify tile type and thickness, locate substrate (studs or masonry) using specialized tools, plan mounting location considering TV size, weight, and viewing angle.
- Surface Preparation: Mark the mounting bracket position precisely using a level and measuring tape, avoiding grout lines and areas where cracks are likely to propagate.
- Test Hole: Drill a small pilot hole in a discreet location to confirm substrate type (sound changes when passing through different materials).
- Tile Drilling: Using diamond-tipped bit and water cooling, drill carefully at low speed through the tile surface. This takes longer than standard drilling but prevents damage.
- Substrate Engagement: Drill through any plasterboard or backer material to reach the structural material (studs or masonry) behind. Insert appropriate anchors or lag screws.
- Bracket Installation: Secure the TV mounting bracket using heavy-duty fasteners into studs or masonry. Test stability thoroughly before mounting the TV.
- Cable Management: Route power and signal cables discretely, either behind the tile wall (if possible), along edges, or using attractive conduit or cable covers.
- Final Testing: Mount the TV, verify level and stability, and test all movement functions if using an articulating mount.
Tile Wall TV Mounting: Methods and Installation Comparison
| Aspect | DIY Approach | Professional Installation |
|---|---|---|
| Tile Damage Risk | Very high—standard bits crack tiles easily | Minimized through specialized tools and techniques |
| Substrate Detection | Often guesswork without proper tools | Professional assessment identifies studs or masonry |
| Drilling Speed and Technique | Usually too fast, causes overheating and cracking | Low-speed, controlled drilling with water cooling |
| Tool Quality | Standard drill bits slip and damage tiles | Diamond-tipped or carbide bits designed for tile |
| Anchor Selection | May use inadequate fasteners for substrate | Appropriate anchors matched to stud or masonry |
| Bracket Stability | Often loose or unreliable long-term | Secure, tested installation with warranty |
| Cosmetic Result | Cracked tiles, visible damage, poor appearance | Clean installation, tiles intact, professional look |
| Insurance and Liability | May void insurance if damage occurs | Professional documentation protects coverage |
| Long-Term Reliability | Risk of failure, tile cracking, mounting shifts | Durable installation lasting 8–12+ years |
Managing Cable Routing on Tiled Walls
Cable management on tile walls requires careful planning to maintain aesthetics and avoid visible wires. In-wall cable routing, while ideal, is often impractical on solid tile installations because drilling additional conduit paths through tiles multiplies damage risk. Professional installers typically employ alternative approaches:
Surface-mounted cable covers or conduit in colors matching the tiles or wall finish hide wiring while remaining visually discrete. Power cables can route along the edge of the tiled area, dropping to a nearby outlet or routing behind adjacent furniture. Some premium installations use strategically positioned wall cabinets or shelving to conceal cables entirely. For bathrooms or wet areas where tile is most common, weatherproof cable management is essential to prevent moisture-related failures.
When asking “can you mount tv on tile wall in Adelaide,” cable management planning is part of the comprehensive solution. Professional installers coordinate all aspects to deliver clean, safe, functional results.
Tile Type Variations: Ceramic vs Porcelain
Ceramic tiles are more forgiving for drilling than porcelain but still demand care. They are somewhat softer and more porous, making them slightly easier to penetrate with diamond bits. Porcelain tiles are extremely hard and dense, requiring slower drilling speeds, water cooling, and often longer drilling times. Both types can crack if techniques are improper, so specialized knowledge and tools are essential regardless of tile material.
Glazed tiles (shiny, finished surface) are easier to drill than unglazed tiles in some respects because the glaze provides a smooth starting point. However, decorative or textured tiles present additional challenges due to their irregular surfaces. Professional installers account for these variations when planning installations.
Adelaide-Specific Considerations: Tile Wall Installations
Modern Adelaide homes increasingly feature tiled feature walls, kitchen backsplashes, and bathroom installations. Coastal properties in suburbs like Glenelg may have tile installations designed for salt air durability. Heritage homes occasionally include original period tile work worthy of preservation.
Understanding local installation practices and respecting aesthetic preferences is essential. Professional Adelaide installers are familiar with common tile types in the area, local substrate standards, and how to work with both contemporary and heritage tile installations. This local expertise minimizes risk and ensures results aligned with Adelaide home standards.
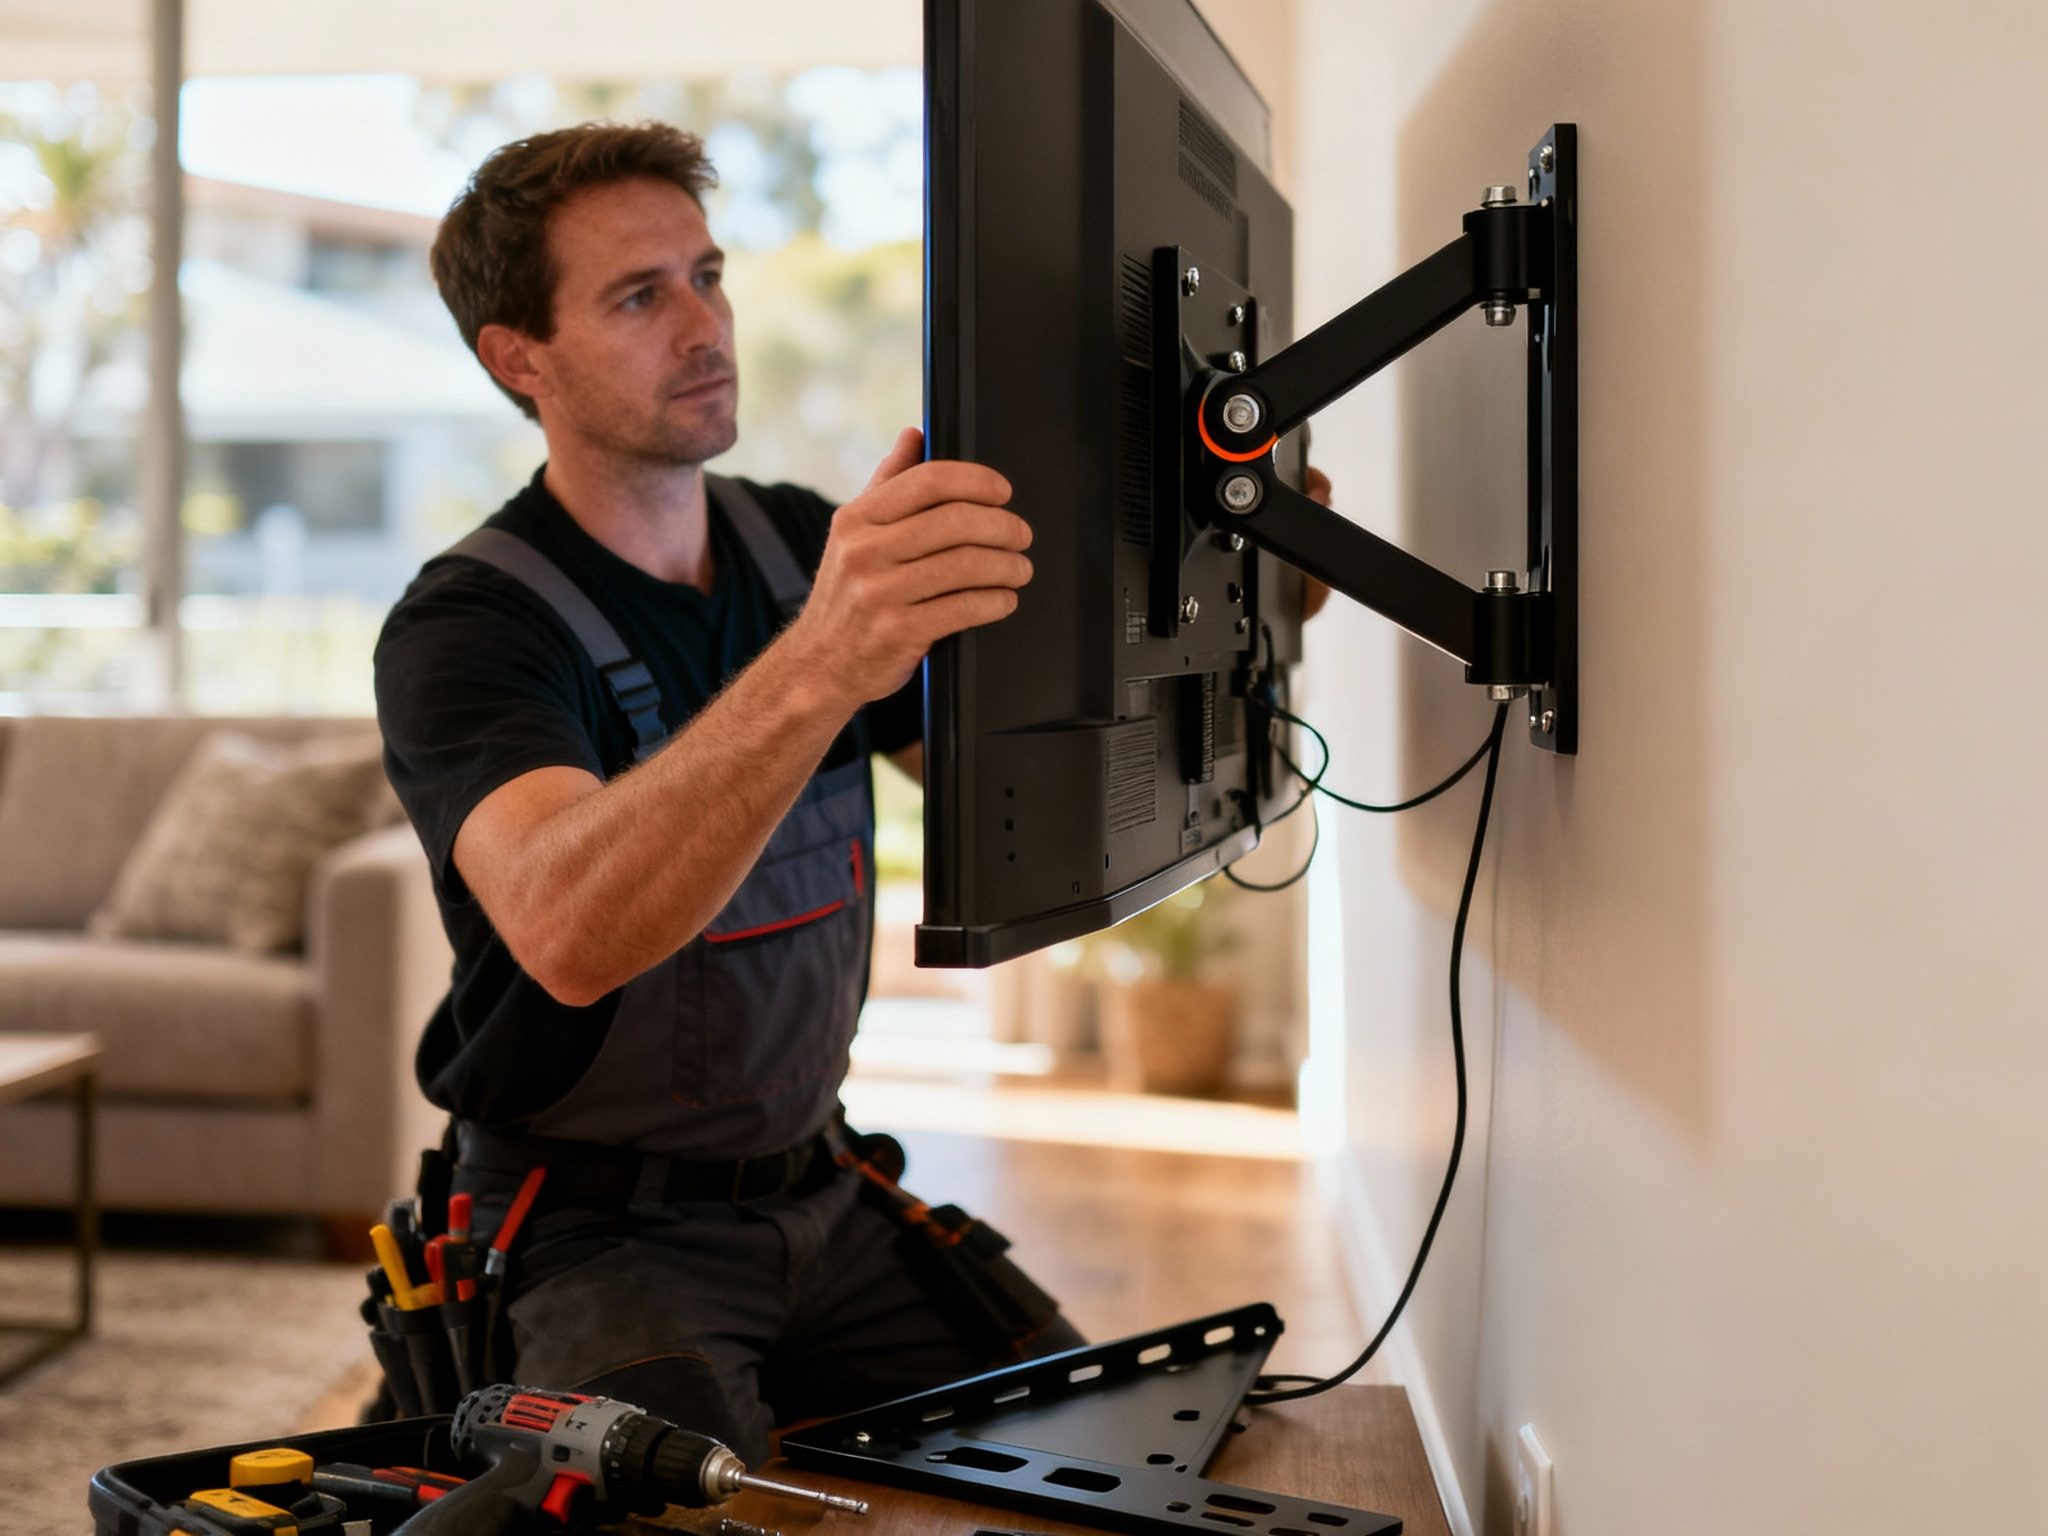
When to Call a Professional: Risk Factors for Tile Mounting
While some straightforward installations might be attempted by confident DIYers, professional assistance is strongly recommended when:
- TVs exceed 50 inches or weigh more than 30 kg
- The substrate behind tiles is uncertain or inaccessible
- Tiles are high-quality, expensive, or difficult to replace if damaged
- The installation is on a feature wall where damage is highly visible
- Water or moisture exposure is possible (bathrooms, kitchens)
- Property is rental or requires landlord approval for wall modifications
Professional installation eliminates these risks entirely, providing documented proof of compliance, warranties, and peace of mind.
Frequently Asked Questions (FAQs)
Q: Can you mount tv on tile wall in Adelaide safely?
A: Yes, mounting a TV on a tile wall is safe when done professionally. The bracket must anchor into solid substrate (studs or masonry) behind the tiles, not rely on tiles alone. Specialized drilling techniques and tools prevent tile damage.
Q: What happens if I drill into tiles incorrectly?
A: Incorrect drilling causes tiles to crack, chip, or shatter. If the substrate behind the tiles is missed, the mount may fail to anchor securely. Both issues compromise safety and create costly repairs.
Q: Can I use standard drill bits to drill through tiles?
A: Standard drill bits will slip on tiles, overheat, and cause cracking or shattering. Diamond-tipped or carbide bits designed for tile work are essential.
Q: How do I know what substrate is behind my tiles?
A: Use an electrical stud finder calibrated for thick materials, drill a small test hole in a hidden area to identify the material, or have a professional assess the wall before drilling.
Q: What if there are no studs behind the tiles?
A: If the tiles are on masonry, concrete, or solid brick, expansion anchors inserted through tiles into the solid material provide reliable support. If tiles are on plasterboard with studs at inconvenient locations, reinforcement backing plates can be used.
Q: Will mounting a TV damage my tile wall permanently?
A: Professional mounting should leave minimal visible impact. Holes are precisely placed and covered by the bracket. If tiles do crack or chip, professionals can coordinate replacement or repair.
Q: How long does professional tile wall mounting take?
A: Depending on complexity, professional installations typically take 2–4 hours. This includes assessment, precise drilling, bracket installation, testing, and cable routing.
Conclusion
Mounting a TV on tiled walls in Adelaide is achievable when approached with professional expertise, specialized tools, and proper technique. The answer to “can you mount tv on tile wall in Adelaide” is yes—but it requires understanding tile composition, identifying substrate material, using appropriate drilling methods, and anchoring securely into solid structure. DIY attempts risk tile damage, installation failure, and costly repairs.
Golden Antenna provides professional tile wall TV mounting that respects both your tiles and your installation requirements. Our Adelaide team brings specialized equipment, technical expertise, and local knowledge to deliver clean, safe, durable installations on any wall type—including challenging tiled surfaces. Contact us for professional assessment and installation.
For expert TV mounting on tile walls in Adelaide, contact Golden Antenna at 0403 711 983 today.
